“Photograph the new sofa range” sounds like a brief until someone asks which sofa should arrive at the studio. The narrow one or the wide one? Which fabric? Which legs? And does the rear view need to show all those choices too?
For configurable furniture, those decisions belong in the brief before the shoot. Otherwise, a team can deliver attractive photographs and still leave the shop without a picture of the combination a customer wants to buy.
Start with one product. List its valid options, decide what each view must show, and agree which details can be shared. Then choose how to produce the images.
Start with the configurations you actually sell
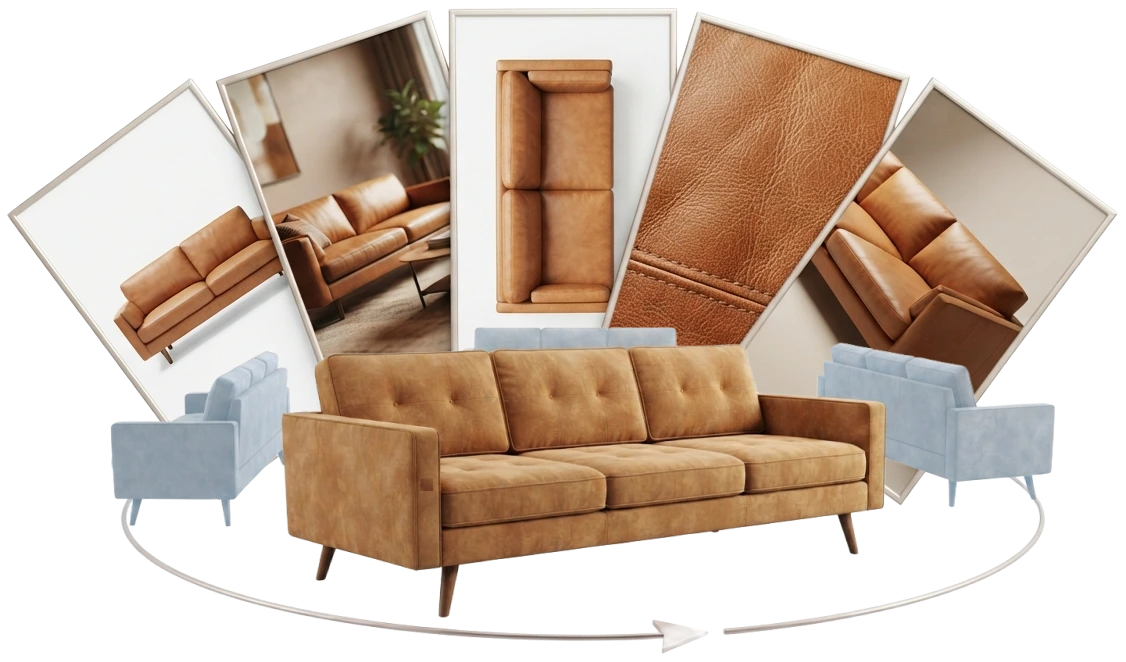
Take an illustrative sofa available in two widths, four fabrics, and two leg finishes. If every choice works with every other choice, that gives 16 valid combinations.
Ask the product owner to confirm that assumption. A wider frame might need different legs; a fabric might be unavailable on one size. Record those restrictions before booking products into the studio or commissioning renders.
Give each option its catalogue identifier. “Blue fabric” is too vague when two suppliers use the same description. The brief should name the material code, the approved swatch, and the product specification it belongs to.
Then separate what changes visibly from what does not. Delivery services need no new image. A different width does. A leg finish changes any view where the legs appear, but may leave a tight upholstery detail untouched.
Turn those choices into a shot list
Here is a starting brief for that sofa. It describes the required coverage; it does not assume every image needs a separate physical shoot.
| Required image | Coverage for this example | What the approver checks |
|---|---|---|
| Three-quarter view | All 16 combinations | Width, fabric, and legs match the selected options. |
| Front view | All 16 combinations | Proportions, seat layout, and visible finishes match. |
| Rear view | Each combination whose rear appearance differs | Back construction, upholstery, and visible legs match. |
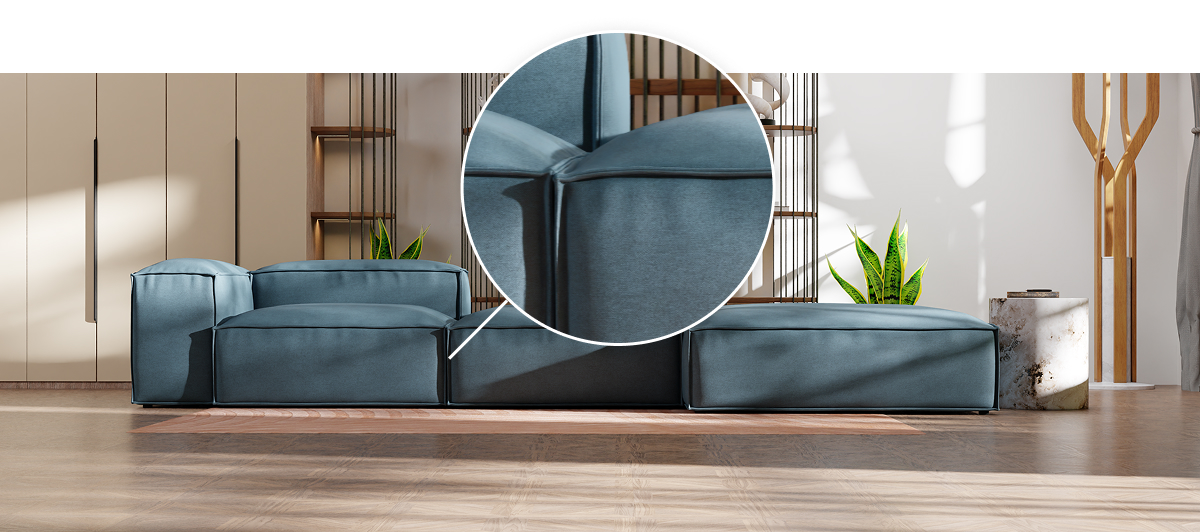
| Fabric close-up | Four, if each fabric is applied consistently across the range | Weave, colour, pile direction, and scale match the reference. |
| Leg detail | Two, if leg geometry is shared across both widths | Shape and finish match the supplied component. |
| Dimension graphic | Two, if width is the only dimension-changing option | Measurements match the approved specification. |
| Room scene | Selected launch combinations | The furniture matches the named combination; props are distinguishable. |
The first two rows already require 32 images. The remaining count depends on construction and reuse rules. A rear photograph showing black legs cannot represent the oak-leg version simply because both sofas have the same backrest.
Write down where a shared image is valid. A flat fabric swatch can explain the material across both widths. A close-up containing a seam can only represent products with that seam in the same place.
For choosing the mix of views, see how many images a product page needs. Here, the task is to turn that choice into something a production team can quote, make, and check.
Approve one capture setup before shooting the range
Send the photographer an assembled reference configuration, its dimensions, labelled material swatches, and the shot list. Assign someone to check that the delivered furniture matches the brief.
Clean surfaces, align cushions, remove packaging, and deal with transport damage before capture. Agree how the furniture should be presented: loose cushions, for example, need a repeatable arrangement. Steam upholstery only where its care instructions allow it.
Approve a reference set with these details recorded:
- Camera: position, height, distance, focal length, and crop boundaries. Leave room for the intended mobile and desktop crops.
- Lighting: source positions, modifiers, and settings. Control changing ambient light between batches.
- Colour: a neutral reference photographed under the product lighting, plus labelled physical swatches for review.
- Presentation: background, cushion arrangement, visible accessories, and the direction of fabric pile or wood grain.
Check the largest product before fixing the setup. It needs to fit the frame without moving the camera so close that the nearest arm looks oversized. For shiny finishes, inspect reflections across the whole piece. For dark upholstery, check that folds and edges remain visible.
Review material details separately from the overall shot. Lighting that makes a sofa silhouette clear may reveal very little of its weave. Our fabric close-up article covers why those details deserve their own view.
Decide which images to photograph and which to render
Make this decision against the shot list, while the products and source files are still available.
| Requirement | Production approach to consider |
|---|---|
| Document a finished product, joinery, or irregular grain | Physical photography of the actual piece. |
| Show many fabric and finish combinations on repeatable geometry | Rendering from an approved model and material references. |
| Introduce a new width or component | Capture or model the changed construction before expanding its variants. |
| Produce a small set of styled campaign images | A physical set or a rendered room, with the product checked against its specification. |
Photography still supplies useful references when rendering produces most of the catalogue. Capture proportions, seams, the underside where relevant, and details that drawings leave ambiguous. Keep the original files with the approved specification.
For Variant Visuals, agree the model, materials, and representative views before expanding production. Approve a difficult fabric early: a velvet or pronounced weave can expose issues that a plain finish hides.
The brief should name the method for each row. It should also say who checks the output and what triggers a reshoot or revision.
Define what “approved” means
A file arriving in a folder is a delivery milestone. Approval needs two separate checks.
First, inspect the image. Does it show the right product? Check proportions, seams, material scale, colour against the reference, and visible components. Inspect cut-out edges around fine legs and upholstery. Retouch dust and capture defects without changing the furniture’s shape or characteristic texture.
Then, inspect coverage. Does every required product-option-view combination have an approved asset? Does each shared detail have an explicit list of applicable options? A beautiful front view does not fill a missing rear-view requirement.
Agree export sizes, colour space, crop requirements, and file identifiers with the shop team before delivery. Check the images on a product page, including mobile crops and zoom. Change the options and verify that the picture follows the selection.
Use the brief for the next batch too
Download the shot-list template (CSV). It contains the example above, with fields for option IDs, reuse rules, production method, source reference, status, approver, and the final asset location. Expand each requirement into individual deliverables before commissioning production.
Keep “captured” and “approved” as separate statuses. When a fabric or component changes, use the option IDs to find the affected rows and reopen them for review.
The useful handover is a shot list in which every image has a purpose, every shared asset has a boundary, and someone has checked that the result matches what the customer can order.